Art journaling may well be addictive. Luckily, except for the cost of my ever
growing art supply collection, it is a positive addiction that has long-term
mental health benefits. At long last, I
think I may have found a way to keep up with my need to create things, even
when I’m swamped with kids and housework and my job. There is something about this kind of
journaling that takes some of the pressure off to be perfect. It’s also something that can be done in
spurts, which, when things are crazy-busy, is über-important.
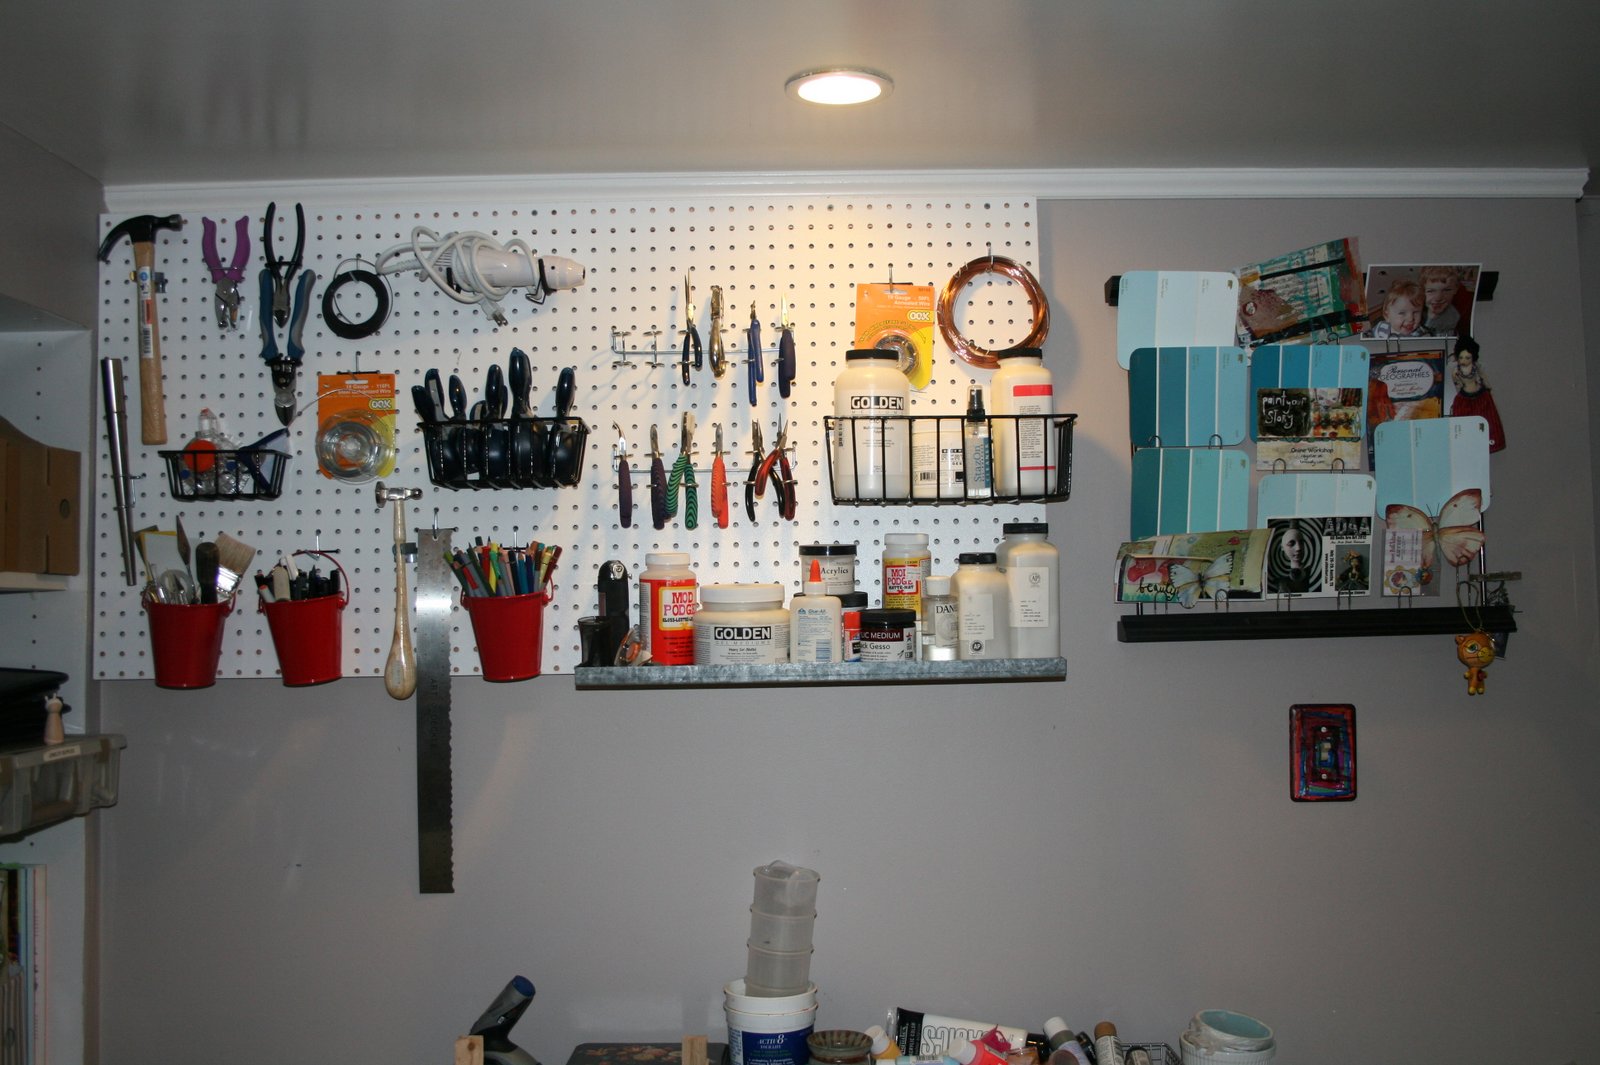
Like anything else, though, it helps to be organized. It’s possible to spend hours on journal
pages, but it doesn’t have to, as long as you have supplies arranged in a way
to be easily accessible when you have a few spare minutes.

I bought these empty marker bottles from Dick Blick because
it came up as a useful tool in the Mermaid Circus class I am taking (which is
awesome, by the way).
I first used it to
put a mix of cheapie acrylic craft paint and water.
It works like a charm.
Then I had this brilliant idea (not so
brilliant, as it turned out, since it’s mentioned as a use in the product
description) to put some of my watercolors in it.
The result—completely awesome!
I can now keep these little bottles at hand
and add watercolor any time I want to without having to dig out my paints,
palette, brushes and water.
They lend
towards portability, too, so I can take them out with me without having to haul
all those supplies.
So here’s what I did:
1.
I put a tiny bit of water in the bottles so that
when I added the paint, it wouldn’t stick to the bottom.
2.
I added about a pea size bit of paint and then
filled up the bottle just under the first divot mark. It’s easier to add water than add paint.
3.
I put the top on (the part with the porous
surface) and then the cap.
4.
I shook the bottles until the paint dissolved
into the water. Even my oldest, most
solid watercolor paint dissolved just fine.
Here’s what I tested the bottles on.


Now I have watercolors to go, whether I’m trying to prep a
page in between steps in getting dinner ready or heading to the local coffee
shop (or pub) to get some me time.
The following are some useful links for you:
The Mermaid Circus is starting another round in
September. It is well worth the money
and an excellent way to recharge artistically.
I have done more artwork in the last three months than the previous year
all together. Jane Davenport and Teesha
Moore are fabulous teachers and stupendous artists.
Dick Blick is my go-to place for art supplies. I usually wait for sales and buy online. This link goes straight to the empty marker bottles.
My watercolor paints are from Daniel Smith, an art store
here in the Seattle area. The Daniel
Smith brand of watercolors are my favorite.


 I bought these empty marker bottles from Dick Blick because
it came up as a useful tool in the Mermaid Circus class I am taking (which is
awesome, by the way). I first used it to
put a mix of cheapie acrylic craft paint and water. It works like a charm. Then I had this brilliant idea (not so
brilliant, as it turned out, since it’s mentioned as a use in the product
description) to put some of my watercolors in it. The result—completely awesome! I can now keep these little bottles at hand
and add watercolor any time I want to without having to dig out my paints,
palette, brushes and water. They lend
towards portability, too, so I can take them out with me without having to haul
all those supplies.
I bought these empty marker bottles from Dick Blick because
it came up as a useful tool in the Mermaid Circus class I am taking (which is
awesome, by the way). I first used it to
put a mix of cheapie acrylic craft paint and water. It works like a charm. Then I had this brilliant idea (not so
brilliant, as it turned out, since it’s mentioned as a use in the product
description) to put some of my watercolors in it. The result—completely awesome! I can now keep these little bottles at hand
and add watercolor any time I want to without having to dig out my paints,
palette, brushes and water. They lend
towards portability, too, so I can take them out with me without having to haul
all those supplies.


 Now I have watercolors to go, whether I’m trying to prep a
page in between steps in getting dinner ready or heading to the local coffee
shop (or pub) to get some me time.
Now I have watercolors to go, whether I’m trying to prep a
page in between steps in getting dinner ready or heading to the local coffee
shop (or pub) to get some me time.


 Here are some of my latest peg doll designs. I've started using recycled sari cloth on some of my butterflies. Just in time for the holidays, I've also created a new peg--my angel ornaments. I love old German wood ornaments, and I tried to stay true to that feel. Enjoy!