Showing posts with label art. Show all posts

Sunday, March 3, 2013

Sunny Days Are Awesome


If you are at all familiar with the Pacific Northwest, you know that our winters and springs are not known for their sunny days.  So when that elusive orb finally comes out, it makes the whole day a little bit brighter.  I took advantage of the beautiful (if still chilly) conditions to photograph my latest peg doll creations.  I'm having fun learning new embroidery stitches and these little guys are the perfect size to try something new.  I like how the middle (pointy hat) gnome turned out; I think I might have to try my hand at applying dye to wool felt more often this spring.


Posted by Picasa

Saturday, March 2, 2013

New Easter Peg Doll


I came up with a new design for my peg dolls, just in time for Easter.  Meet the Easter gnome, who loves Easter so much she dresses up like the Easter bunny.
I needle felted the nest and eggs from roving and I have been trying out new embroidery stitches.  Recently, I went to the library and checked out about 10 books on embroidery and crewel.  Generally, what I found is there is a short basic set of stitches with a lot of variations to make them look different. 


Lastly, here is a photo of one of my lovebug peg dolls.  The heart felt is from an experiment with alcohol inks. 
Posted by Picasa

Sunday, November 25, 2012

More Peg Dolls

 Here are some of my latest peg doll designs.  I've started using recycled sari cloth on some of my butterflies.  Just in time for the holidays, I've also created a new peg--my angel ornaments.  I love old German wood ornaments, and I tried to stay true to that feel.  Enjoy!


Posted by Picasa

Sunday, October 21, 2012

Cloth Dolls

I actually finished these gals in June, but then had thoughts to send them to Prims Magazine or Stuffed to see if I could get published.  I've had a hard time letting go of these dolls, though, and the thought of them sitting in storage at the publisher's wasn't so appealing.  I'm still undecided whether to send them in.

So their bodies are made with muslin and other cotton cloth and their hair is made with wool yarn (except for the sparklies).  I hand painted their faces, a method I rather liked.  I feel like I have more control over their features than if I had embroidered them.  Let me know what you think.


Friday, April 6, 2012

ArtFest 2012, Day Three


By the third day of ArtFest, some of us were beginning to lose steam.  Personally, I don't think I have ever created so much art in such a short space of time.  I loved every minute of it, and it's a bit bittersweet that this year was ArtFest's last.

So, by the time I attended Mary Beth Shaw's class "Extra-terrestrial Texture" I was running on autopilot a bit.  I love her work, and am continually impressed with her sense of composition and use of color.  I don't generally do abstracts, but have been playing around with composition and with texture for a few years.  I was really looking forward to this class.  I went into to it with the idea to pick up as much information on creating texture as possible.

Ultimately, I felt like I came away with some useful techniques.  I was completely blown away with the creativity and stamina of my classmates.  My focus was on trying out as many techniques as possible, and, as a result, I feel like my three collages are a bit busy and unfocused.  I think the lack of sleep and the creative energy drain didn't help either.  I almost didn't post these because I feel like they are not my best work.  After reflection, though, I came to the decision that the process and the mistakes themselves are informative.  The realization that not everything we make will turn out perfect is a hard lesson to learn.  I want my work to be amazing the first time, but art is like anything else.  You need practice and, no matter how talented/skilled you may be, you will have off days.

The ArtFest experience was amazing and the sense of community was one that I hope to find outside of ArtFest.  Thank you to the new friends and to the instructors who helped make such wonderful memories.

Posted by Picasa

Monday, April 2, 2012

Artfest 2012!


I just got back from Artfest 2012, an art retreat coordinated by Teesha and Tracey Moore   (visit Teesha's site at teeshamoore.com).  I have wanted to attend for years (eight to be exact) and the timing or money situation has always been wrong).  This year I decided, with some encouragement from my husband, that I just needed to make this work.  So I did, and I'm incredibly thankful I had the opportunity to do so.  It was an amazing experience being surrounded by supportive, creative people.  The instructors were fabulous and since I made the point of taking classes that focused on different techniques, I came away from them with a new set of strategies for making art.

These paintings are the result of my class with Mindy Lacefield, who was so sweet and inspiring.  Everyone in class, no matter what skill level they were at, came out of the class with wonderful art.  She is one of those rare teachers who truly pulls out the best in her students.

I'm really happy with how my paintings turned out, and I plan on playing more with the techniques I learned.  And the color--who would have thought I would love using florescent colors so much. 

As I have time, I will post my work from the other classes as well, so stay tuned.

Posted by Picasa

Sunday, December 4, 2011

Holiday Tree

I always mean to go all out on the holiday decorations, especially since the kids seem to enjoy them so much. Somehow, though, the business of life interferes and I never have quite enough time. This year, trees are on my mind and I decided that this would be one project I would complete.
I bought the tree base from Joann. It was one of those super coupon deals, so it cost only a few dollars. I would imagine if there are any left after the holiday season, they will be even more drastically on sale. I wet felted the balls by hand. Originally I was going to do the whole tree in the off white balls and then maybe do some other white embellishment. After some thought I decided I wanted more color, so I added the colored balls that I felted for a now abandoned jewelry project. I used a sewing needle and threaded the balls onto embroidery thread, knotting both ends when done. Then I just tucked in the top knot at the top of the tree and spiraled the balls down the tree, tucking in the end knot at the bottom. This way, when I want a different look next year, it is easy to remove and I can use the balls for another project. If you are looking into doing this but don't have the time to make your own balls, I know there are several shops on etsy.com where you can buy them.

Sunday, November 20, 2011

Resin Fun

I have been collecting bottle caps for more than a year, hoping to use them for a project. Beyond making a christmas ornament out of them last year for Christmas tree at my husband's work, they have just been sitting there collecting dust. While I was pregnant with child #2, I had plans of teaching myself how to cast resin, but had been recommended to wait until after the baby was born. I continued to research it and a few months ago, a friend of mine expressed her desire to make bottlecap magnets.

So here we are with the results of that first experimentation. After my research, I decided to get my doming resin from Rio Grande. I loved that it had no odor, and therefore wasn't sending harmful fumes out into the house. I have heard that the Envirotech brand, which you can get at the hardware store, has heavy fumes. I decided that going with a jewelry grade resin would be best. The results were mixed for us, as some of our bottlecaps were still sticky to the touch after the curing period--we either didn't measure right or didn't mix enough. Luckily, I found a fix that worked--using clear nail enamel on top. The finish isn't quite as nice as those we didn't have to treat, but we were able to salvage the bottlecaps that would have remained permanently sticky.

Posted by Picasa

Wednesday, August 24, 2011

The Art Cave

Since I haven't posted in awhile, I thought I might treat you ;) to a few pictures of my art cave. Consider it a work in progress. Yes, it's an unbelievable mess, but I swear that if you had seen it just a few weeks ago, you would be impressed with how orderly it is now. You can actually walk the length of it without tripping over something.

I call it my art cave because it's in the basement, and frankly, the lighting sucks. My art supplies are in random boxes, some labelled, some not. On the bright side, I did organize all my art magazines so that they are little bit easier to find. Also, my awesome husband bought me a wood board to make a new work table--I'm using two old bathroom drawer units as the base--like the rest of the art cave, it's a work in progress.

My kids also have some of their art supplies down here, although, at this point, I don't allow them to work down here--they are just a bit too young and I have supplies better left for mature hands.  Since most of the rest of the basement serves as storage space, the biggest challenge is to keep that junk out of my space.


I have big plans ahead for how I ultimately want this room to look. Some paint, some lighting, a bit more structural organization and it will be a real studio. Considering how limited in space we were in our last house, I'm feeling pretty lucky I have this much room to work with, even if it is in a "cave."

Posted by Picasa

Wednesday, May 25, 2011

Collage With Cereal Boxes

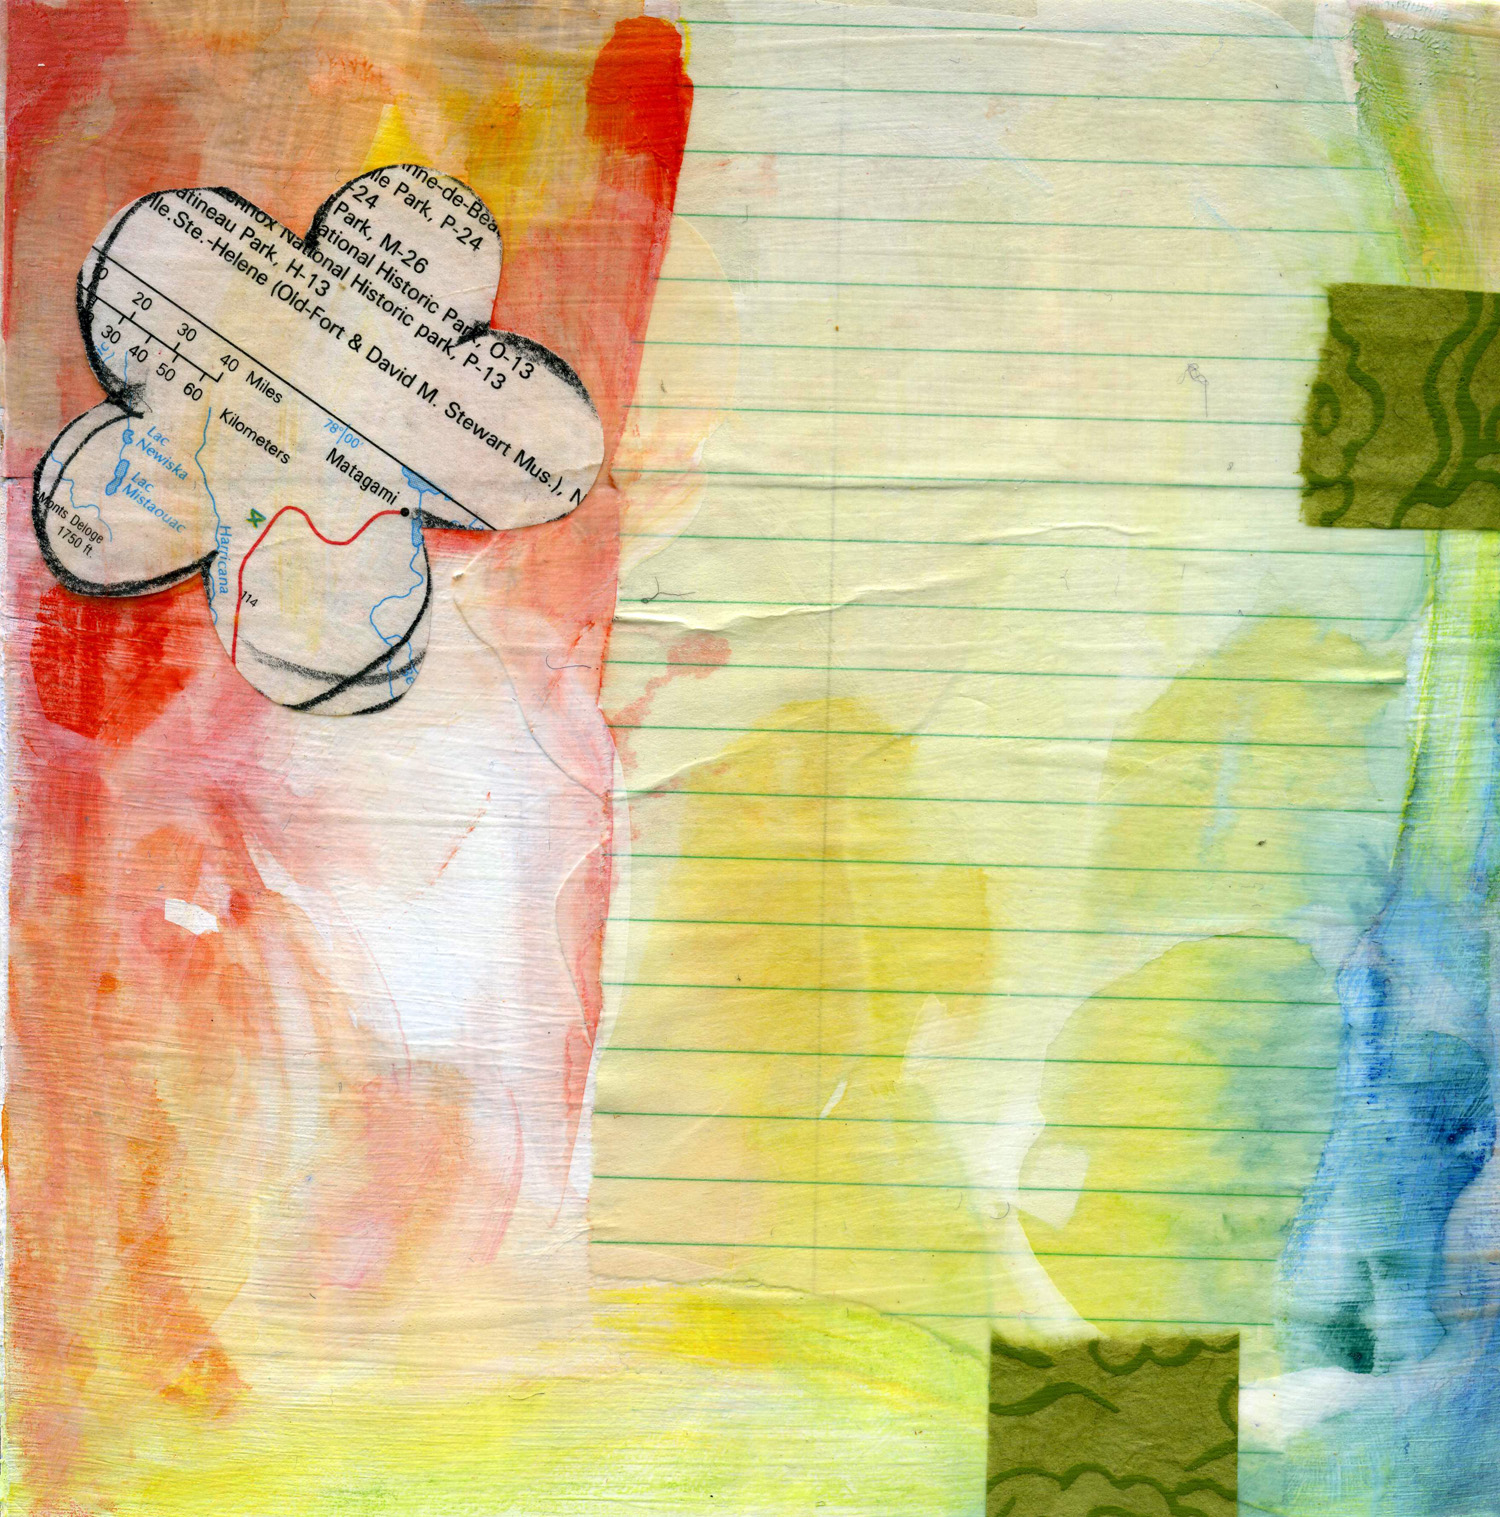
So I thought you might like to see an example of something I created using a cereal box as the substrate.  Here are some collages I made to use either as journal pages or digital scrapbooking pages.  As a bonus, I'm providing a link so that you can download one of the images to use in your own journaling and/or scrapbooking.  All I ask is that you not use it for commercial purposes or in artwork you plan on submitting to a magazine.  Of course, I would love to see the final project showing how you used it.

To download a 300dpi version of the first background (the one with the flower), click here.  When the image opens, right-click on it and save as onto your computer.  Enjoy!

Saturday, May 21, 2011

Doing More with Less

Art supplies are expensive. I shudder to think how much I have spent over the years, especially since I have so many artistic interests and they all require their own set of tools and media. To make matters worse, new tools and gadgets keep coming out that are oh-so-tempting. You can never have enough art paper. Really. Ok, maybe you can, especially if you are like me and fall in love with those beautiful, fluttering treasures and can’t stand to “ruin” them by, gasp, actually using them. (I know, I’m working on that.)

This causes two issues: 1. Supplies are expensive and my budget doesn’t leave much wiggle room for extras and 2. Some of those supplies become too precious to use, especially if they are both gorgeous and expensive.

Both those issues interfere with my goal to make more art. My solution is this: to repurpose items that would otherwise be recycled or thrown away. I know, this is nothing new, and plenty of other people have come to this realization as well. But for me, it’s progress.

My favorite repurposed item is the cereal box. It makes an excellent substrate for a variety of projects, from bookmaking to mixed media collages. It is also a great art supply for kids. Mine run through paper so quickly (often making just a few marks before deciding they need another piece of paper), that an alternate source for things to draw, paint and collage on is a relief. Plus, I’m not ruining a precious material, as my household goes through an inordinate number of cereal boxes that would otherwise be recycled. The downside is it’s not archival, but since much of what I’m doing right now is practice and experimentation, this isn’t such a huge issue to me.

So do you have a favorite repurposed material you use in your art?

Saturday, April 30, 2011

Weekend Family Art Time

One successful way I’ve found to slip in time for art is to make a weekend morning of family art time. My husband and I take turns getting up with the kids on the weekend since they both seem to have this unnatural urge to get up early (don’t worry, I’m storing this away for when they are teenagers and want to sleep until noon). Having them work on art projects serves two purposes—it usually gives me time to do some simple art along with them, and it keeps them quiet. I find that simple drawing projects or clay/play dough projects work best since cleanup is easiest and supervision isn’t as intensive. My oldest child especially loves that I make art along with him, providing some always welcome Mommy-time.

Sunday, April 17, 2011

Finding the Motivation


So after reading Shona Cole’s book The Artistic Mother, I totally felt energized to do daily art. In theory it seems so simple, to break projects down into smaller pieces, prioritize your life, etc. Reality never seems to want to follow the rules. As I was trying to work on a couple of pieces this morning while my children played, I kept on having to interrupt what I was doing, and I became really frustrated. And so I realized this about myself; I often procrastinate from doing art, even in small chunks, because once I focus on something it really bothers me if I have to stop before the process is done. As a result, I find it hard to even start because I want to avoid that kind of negativity. Anyone else in the same boat?

Rather than give up, though, I’ve decided that now that I realize this about myself, I can work on changing that feeling—learning to be more patient with myself and others. It’s hard work.

Here is what I was working on: faces for some whimsical people collages. I painted the flesh color yesterday in acrylics. Today I was using a combination of water soluble oil pastels and watered down acrylic gesso to add some interest. It’s been an unnaturally wet and cold winter here in the NW (even by our standards) and it still doesn’t quite feel like spring. To combat that, I’ve been focusing on using a lot of bright colors and cheery themes.


Posted by Picasa

Sunday, January 2, 2011

New Elf Doll

So I used a basic Waldorf doll pattern and adapted it to make this elf for my son for Christmas. The fabric is an upcycled t-shirt belonging to my husband. It is stuffed with wool except for the ears which are made with cotton quilt batting. The clothing is made from felt and the scarf is knit from a soft wool blend. The hair is mostly wool yarn with some wool roving thrown in for texture.

Posted by Picasa