Saturday, January 26, 2013

Wool Felt Doll


I have finals to grade (homestretch), but I wanted to do a quick post on a felt doll I made as a gift before I completely forgot.  I bought the pattern from Gingermelon's etsy shop.  The doll is made from the pocket pixie pattern.  This is the 2nd pattern I have bought, and it is just as adorable as the first.

Except for the embroidered face, she is 100% wool felt.  The pretty glittery multicolored wool yarn I bought at Artfest 2012--sorry I don't remember the vender's name.  The hair is needle felted on, and I really liked how easy it was and how well it turned out.  I'm waiting to see how it holds up with gentle toddler play.
Posted by Picasa

Sunday, December 9, 2012

My Little Boos from GingerMelon's Pattern


I made these two cute little Boo's from a pattern I purchased from Gingermelon's etsy shop.  The kids love them and are asking for more.  I know I could have probably created something similar, but with a to-do list taller than me, I decided to take a break from creating my own patterns.  I have admired Shelly's dolls and creatures since first seeing them in in Stuffed magazine, so I thought it was fitting to support her creativity and give mine a break by purchasing her pattern.  Her instructions were clear and the end results speak for themselves.

I used 100% wool felt.  The only change I made was to create the eyes with felt and embroidery floss instead of using safety eyes.  I love how the arms move a bit--I will have to use the same technique on some of my other projects.
 
Posted by Picasa

Sunday, November 25, 2012

More Peg Dolls

 Here are some of my latest peg doll designs.  I've started using recycled sari cloth on some of my butterflies.  Just in time for the holidays, I've also created a new peg--my angel ornaments.  I love old German wood ornaments, and I tried to stay true to that feel.  Enjoy!


Posted by Picasa

Sunday, October 21, 2012

Cloth Dolls

I actually finished these gals in June, but then had thoughts to send them to Prims Magazine or Stuffed to see if I could get published.  I've had a hard time letting go of these dolls, though, and the thought of them sitting in storage at the publisher's wasn't so appealing.  I'm still undecided whether to send them in.

So their bodies are made with muslin and other cotton cloth and their hair is made with wool yarn (except for the sparklies).  I hand painted their faces, a method I rather liked.  I feel like I have more control over their features than if I had embroidered them.  Let me know what you think.


Thursday, October 11, 2012

Some Bunnies . . .

I am taking my first online art class.  It's a Mindy Lacefield mini-class called "Frolic" and the subject matter is the adorable bunny.  Here's a link to the class website, if you are interested: timssally.com.

This is the first time I've tried an online class.  Mindy was one of my teachers at ArtFest 2012 and she did a fabulous job.  Here are the first three paintings I have created for the class.  Enjoy!


Monday, September 3, 2012

Ideas from Pinterest: Family Calendar

I know I'm not the only one who loves Pinterest.  For me, it's a fun way to organize all the ideas I see on the Internet.  I'm a visual person, and being able to see a quick picture of what I am looking for works better for me than reading a list of web bookmarks. 

It's easy to get sucked into browsing all the lovely items people pin, so I have made a goal of at least attempting to create/do something inspired by Pinterest as least once a month (it legitimizes all that browsing, right?).

So, I decided to get organized using ideas from Pinterest.  Part of this was to meet my goal, and part of it was to prepare for the new school year.  I figure if I can be a little bit more organized, I might be able to reduce the stress of juggling teaching with home life and my need to create.

Here is a project I worked on.  I took an idea from Olive and Love that uses an old frame with glass and paint chip samples to create a dry erase calendar.
family command center

 It looks great, right?  And organized.

I put my own spin on it, deciding not to use paint chips, but instead created a watercolor wash on paper that I then cut up.  I also decided to raise the paper by using foam tape on the back to achieve more of a 3-D look.  I also made the background by cutting up pages from a book and collaging them onto cardboard.  Since I had all the materials lying around, including an old frame, it didn't cost me a thing.  So here is my version:


Sunday, June 3, 2012

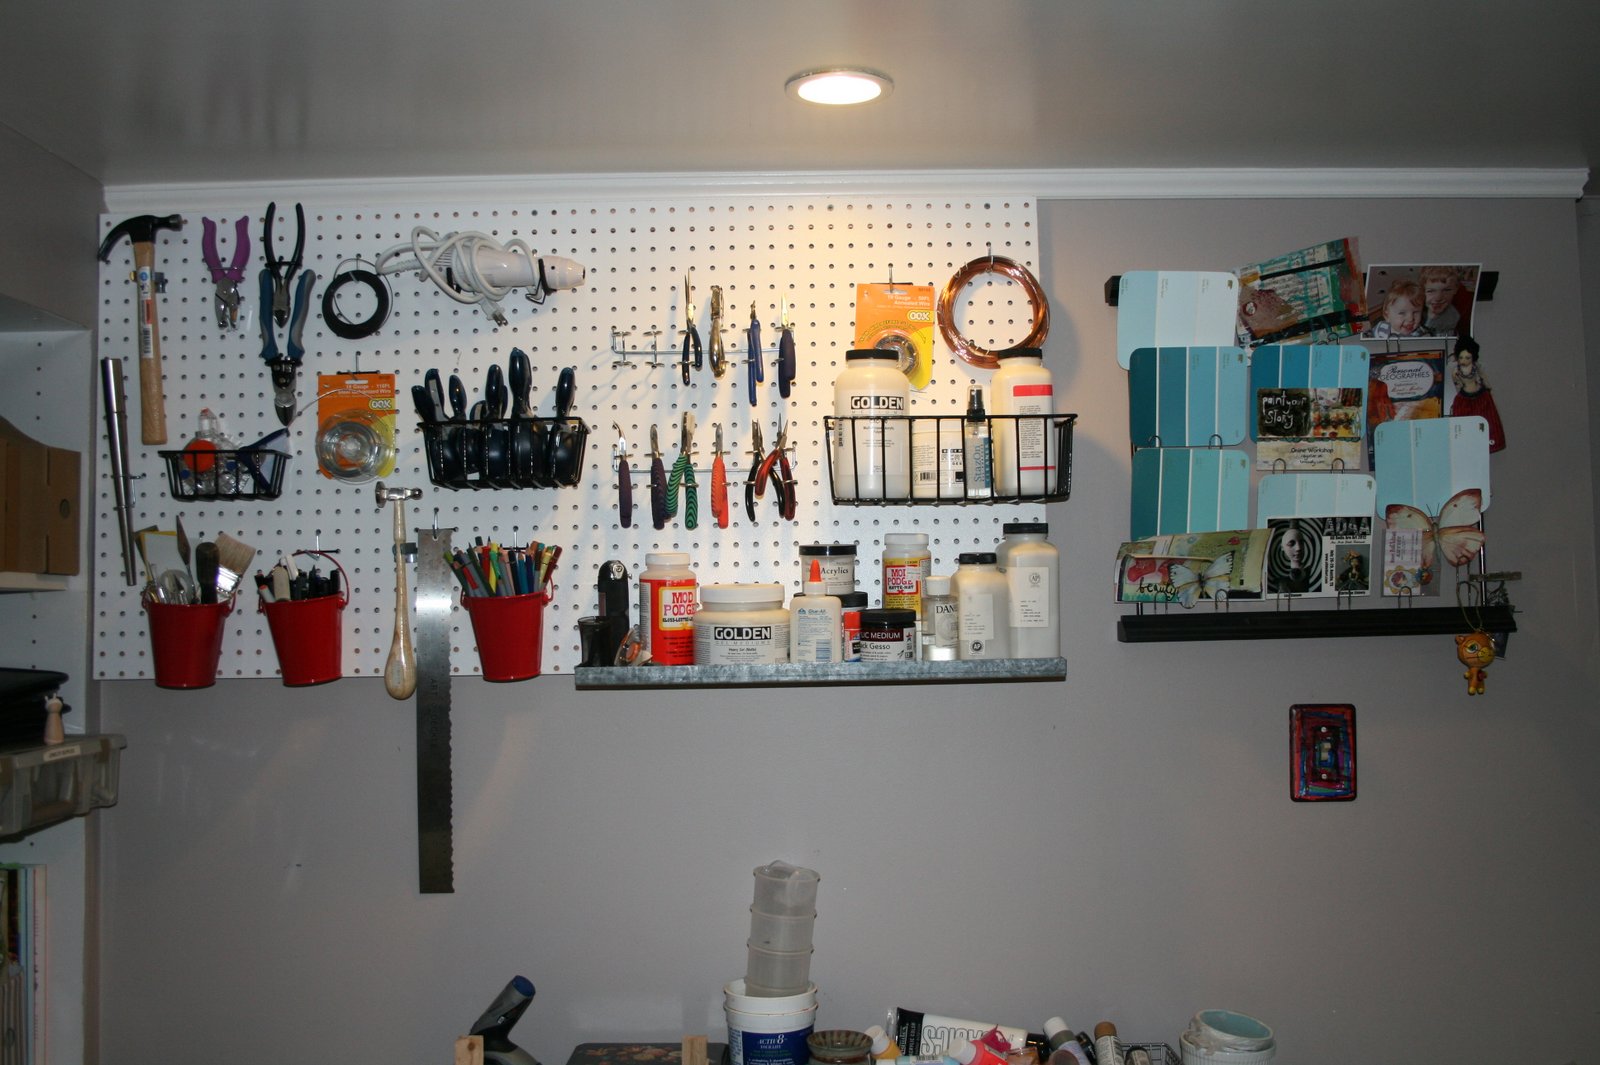
The Art Space . . . Organized


My wonderful husband installed pegboards for my art space . . . cave, and I finally got around to organizing my space a bit.  While I used some of the typical hooks that you can get with pegboards, I also bought a few tin pails from Target for $1 each to store my pencils and smaller tools.  If you look closely, you may find various trades from Artfest around.